


Showing posts with label Paintspots and Splinters. Show all posts

Tuesday, March 18, 2014

Tuesday Tutorial with Vicky of Paintspots and Splinters

I know it's a few months before Easter, but here in our little 'crafting corner' where we buy and sell, we like to be the birds that catch the juciest of worms, ya know?!
So I have a little pattern for you to make these guys. They measure approximately 8" x 10".
One I sculpted and the other I didn't.
Here is a list of materials you will need to make these bunnies:
Pattern (2 pages)


Muslin or fabric of your choice for the bunny
extra cotton floral fabric (2 1/2" x 4" piece)
Fiberfill for stuffing
#10 Crochet Thread (or your choice of Thread)
Sweet Annie and/or dried flowers
Prim Staining Mix
Let's get busy!
Cut her out --1/4" seam allowance is already added to the pattern. Sew her, turn, stuff. Easy, peasy so far! (I left the bottom open for stuffing but you can easily slit the bunny where the pocket goes to turn and stuff).
If you're going to sculpt the hind legs and ears, refer to the pattern (make sure you leave the bottom open if you're going to leave the pocket off). Use a long doll needle and some sturdy thread (upholstery or crochet). Here's a link.
They're ready for the staining mix.
Now, I added some dark brown acrylic paint, 'bout a tablespoon or so, to my mix.
Some people just paint the stain on with a sponge brush but I actually like to submerge mine. I add a LOT of vanilla and cinnamon to my stain mix and it saturates the fiberfill thus leaving it smelling stronger, longer. Takes longer for the drying time but I like the smell!
Don't forget the cotton tail! Strip about 5 pieces of 6" x 1/2"pieces of muslin.
Fold it over once.
Tie it in the middle with a heavy thread. Should be 10 pieces on each side. Tie it tight!
Should look like a Pom-Pom. Trim it up and stain it.
Bake it in a warm oven (205 for mine) for 15 minutes at a time. Guess I turned mine 2-3 times. You can also put them outside in the sun but I'm guessing since it's still winter, you might have some trouble with that whole 'sunshine' part! 
DON'T FORGET the floral material for the pocket! Stain it, too; dry it!
Pin the pocket in place.
Sew up the pocket leaving the top open. I used brown #10 crochet thread. You can use embroidery floss, also.
I added a spot of hot glue at the top corners to keep the pocket down. Add your dried floral pieces or just some Sweet Annie or whatever appeals to you. Glue or sew on the cotton tail.
You should have something similar to this.
What else would you do with this guy below?
A tag? Rusty pin and Jingle bell? Where would you put it? Everything I tried didn't look right. Let me know what you'd do!
THIS PATTERN IS FOR YOU TO ENJOY HOWEVER YOU WISH!
Enjoy!
}}Hugs{{
Vicky

Thanks Vicky!  You can find Vicky here:

Tuesday, December 3, 2013

Tuesday Tutorial with Vicky of Paintspots-n-Splinters

This is a Tutorial for my Snow Folk. I'm sure you've seen similar patterns around. I've drawn these up myself to share with you. Feel free to use them as you wish. The patterns are available for download at the bottom of this page.
YOU WILL NEED: Fleece material, Warm and Natural Batting, etc. (I used a mattress cover for my snowmen. I buy one of the cheap pads from Walmart instead of the material from the fabric store as it's less expensive).
Beads for eyes
Jingle Bells
old Socks
homespun and/or seasonal fabric
red and black felt
buttons
black and ecru crochet thread
cinnamon sticks
My patterns include seam allowance. Cut 2 pieces for each pattern from your material.
Sew up the sides all the way around 1/4" from the edge.
Slit the back at the neck line for stuffing and turn them right side out.
Pour 2 cups of rice for the larger pieces, 1 cup for mid size, and 1/2-3/4 cup for small snow folk.
Finish stuffing with fiber fill and stitch the opening closed.
Now comes the fun part! I didn't Prim these but if you want to go that route then NOW would be the time to spray them down. Let them bake in the sun or put in a warm oven until dry.
Let's make the faces! I brushed on some blush from my make up stash and then got to work on the sewing! I used black crochet thread and some black beads (small for the little ones and large for the larger dolls....sorry, can't remember the sizes).
I went though the neck and/or the heads depending on who was getting a hat.

I stitched on eyebrows and the mouths then glued on the cinnamon sticks for their noses.
Next comes the neck scarf and buttons.

The hats are made from felt, old socks, knit material. I've included the pattern below for both the triangle 'Santa' hat and the Stove hat. Socks are super easy as all you do is cut the sock before the heel and tie it in a knot.
Stove Hat. Cut out the brim (1 piece) and the hat part (2 pieces).
Sew it up, turn it and stuff. 
Apply a little hot glue to the inside edge of hat and place down on the brim piece. Add a bit of homespun for a hat band and a sprig of artificial holly leaves for added embellishment.
The triangle hat is super simple. Cut the one piece from knit or felt. 
Sew up the sides and turn. Add a little fur if you want! The striped piece was a sock!
No need to stuff it. Glue to the heads of your Snow Folk.These guys, my Half Snow Folk, don't have a mouth but they are made the same way as the other Snow Folk.
Pattern is also at the bottom of page for these guys.
My Snow Buds have a small wooden plug instead of a cinnamon stick for their noses. 
They are SNOW Cute! 
Jingle bells are added with a rusted safety pin! LOVE IT!!

Thanks Vicky for sharing this fun tutorial!
Vicky can be found here:

Tuesday, September 10, 2013

Tuesday Tutorial with Vicky of Paintspots-n-Splinters

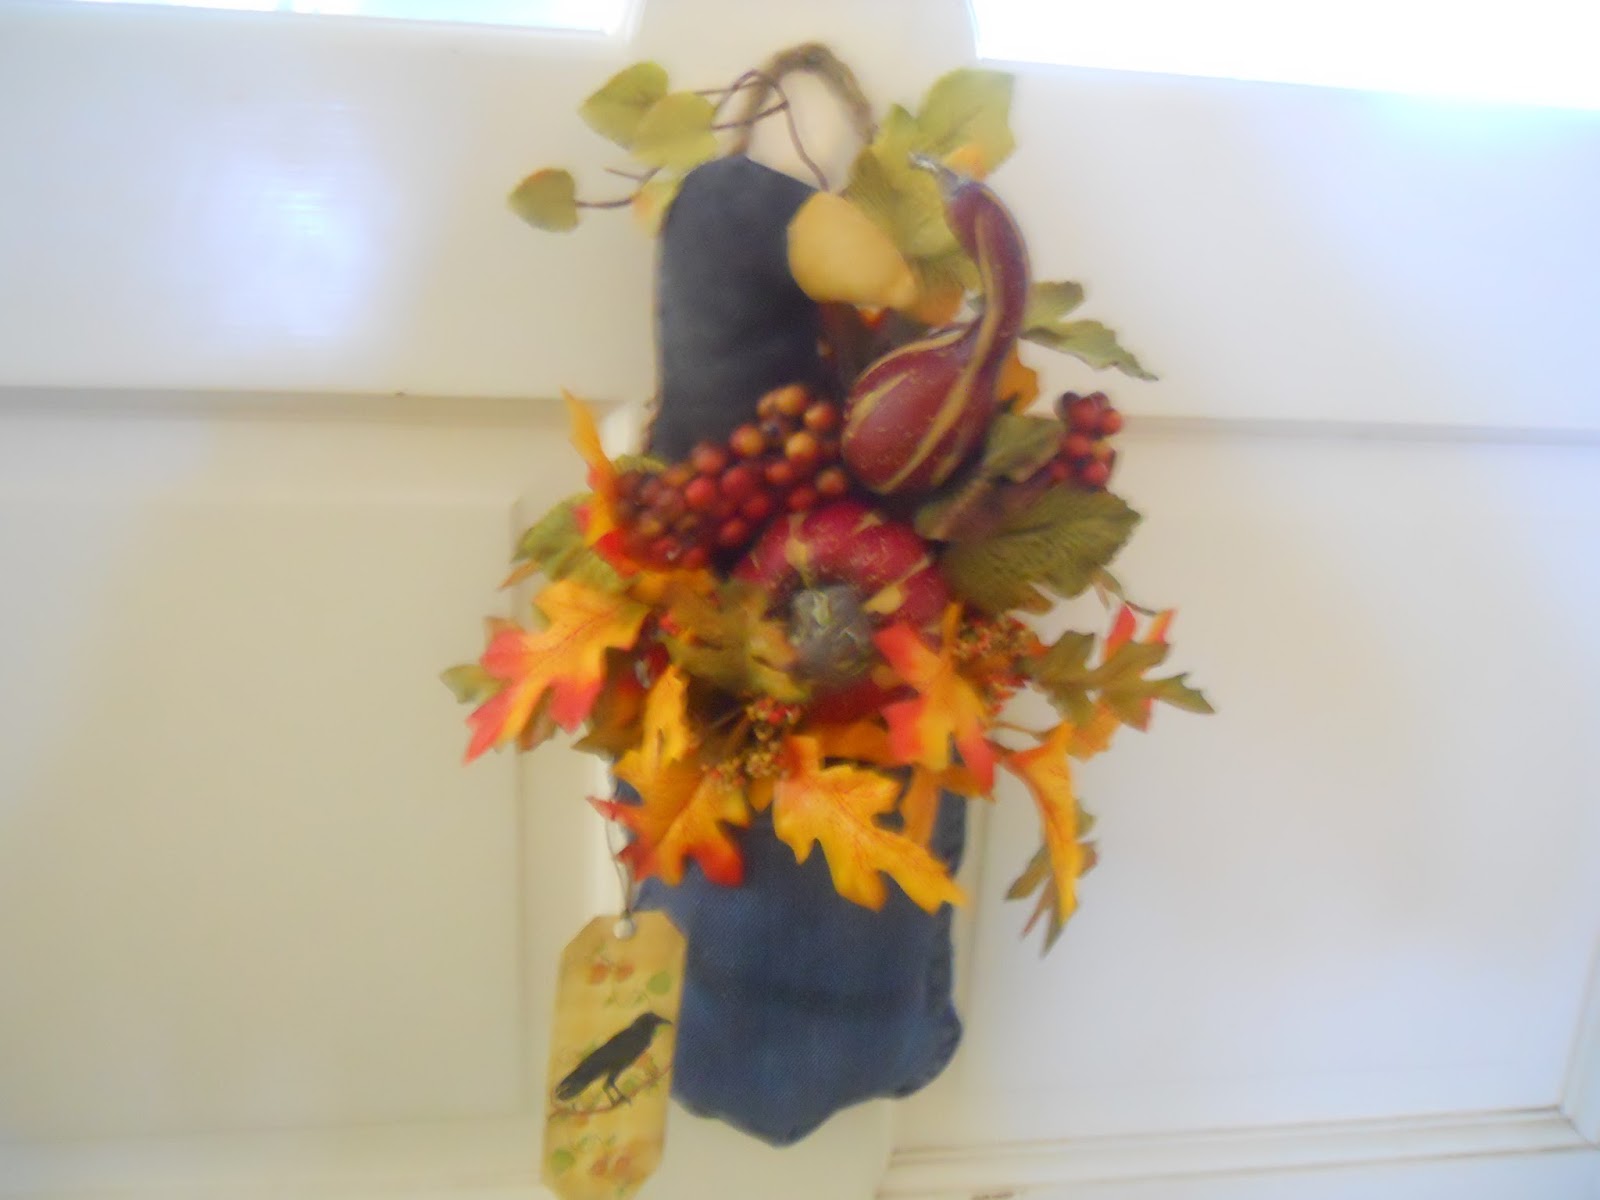
TUTORIAL -- Blue Jean Pocketful
These are super easy and so fun to make!
You'll need a pair of Blue Jeans.
Silk flowers
Stiffy Fabric Stiffener
Macrame Jute
A Crow, homemade or store bought
Hot glue
Floral Foam
Floral Moss
A Tag of some sort

LET'S GET STARTED!
Cut out the pockets of your old Blue Jeans. Make sure you actually cut the material underneath and don't just tear off the outside of the pocket. Open up a pocket and poor STIFFY fabric stiffener inside it and rub it all over the pocket, inside and out. This is messy, which is why I didn't get a picture of it! After you have it saturated well, take some wax paper and ball it up; stuff it into the pocket. Lay down the pocket on some more wax paper and let it dry over night.
Get yourself a piece of Floral Foam and cut it to fit inside the pocket. Add some hot glue to the inside of the pocket and place your foam down inside.
For my strap I've taken 3 strands of Macrame Jute and braided it.
Then I tie off both ends with a single knot, trim them, and hot glue to the inside edge of both sides of the pocket.
I then apply a bit more hot glue to the top of the foam and add some Floral Moss. 
Now comes the FUN part! The Floral Design! I was always taught to choose the tallest piece first and fill in around it......so I did!
I started with my Crow, which I made from a pattern by Thread Bare Primitives. Cut a small hole in the crow, add a bit of Hot Glue, and add the dowel. I didn't paint the dowel this time but I usually do. The flowers cover it mostly so I wasn't concerned.
Fill in your flowers. Small ones amongst the large ones, please!
Finish it off by adding more Floral Moss around the edges where you can see gaps. Remember to add the hot glue first!
Add yourself a Tag and you have yourself a Super Cute Blue Jean Pocketful! Here's another one that I just finished last night!
Thank You Vicky for sharing this great Tutorial.
Vicky can be found here:

Tuesday, July 2, 2013

Tuesday Tutorial with Vicky from Paintspots-n-Splinters

My whimsical Folk Art Chickens!
I actually drew up this pattern months ago and set it aside.

I'm going to share my pattern with you....and give you a 'walk through' as to how I made them.


Hope you can read the pattern. Just click on it and print.
1.Cut 2 pieces out of cotton fabrics for body. Seam allowance is already added. Leave the bottom open for stuffing. 
2. Glue onto bobbin and wrap with sisal or jute around the bottom. Add spots of white craft glue or Hot glue; I used hot glue.
3. Paint the beak area Antique Gold (acrylic paint).
4. Cut out the heart from material of your choice. I used red felt on one and denim from an old pair of jeans on the other 2. Sew with large hand stitches and then glue to the body.
5. Tear strips of fabrics, pieces of raffia, jute, sisal, other fibers. Gather them in your hand and tie in a simple knot. Glue to the tip of the point on his rear. Leave different lengths and widths but not too many. You don't want him to fall over.

6. Now make some smaller strips for his funny little hair do. Hot glue it to the top. OR, cut out the comb from some red felt and hand stitch it. Leave it open at the bottom and glue to the head.
7. I added a strip of homespun at his neck with a spot of glue.
8. Also added a rusty safety pin with a rusted jingle bell.
I had a blast making these. Hope you do, too!
Thanks Vicky for this fun tutorial.
Vicky can be found here:

Tuesday, March 26, 2013

Tuesday Tutorial With Paintspots-n-Splinters

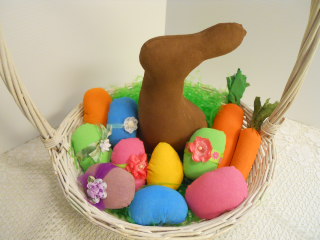
Let's make some Easter Eggs!!
Start with an Oval Pattern and make sure you have at least 1/4" extra for a seam allowance.
Sew them up all the way around. I always double stitch mine.
Cut a slit in the back.
Stuff them. I learned (after I'd done them all) that if you stuff them too much they will pucker on the sides. I just wanted some fat Easter Eggs!
Now let's put some color on them. If you want them bright, then just apply the paint with only a damp brush. IF, however, you want them a bit more Prim, then add a WASH to the fabric by adding water to your paints......OR you can wet your fabric and then brush on the paint. Your call.
Not perfect but I wasn't looking for perfection!
At this point, you can dip them in your PRIM/STAIN mix and bake/sun dry them. I chose to leave mine as is.
I hide the back stitching, which is quite hideous, by wrapping the ribbon all the way around with a spot or two of hot glue. Embellish as you desire.
Enjoy!

Thank You Vicky for sharing this wonderful tutorial.
Vicky can be found here: