


Steps I use in Creating a
Picture On a Wooden Unfinished Jewelry box in Oil Pastels and Acrylics by Pamela of "It's Just Frankly Kute"
You can also do this project, using a wooden unfinished jewelry box, on
fabric, on a chalkboard, or whatever else you may like. In this case I am using a
an unfinished wooden jewelry box I found in a
craft store.
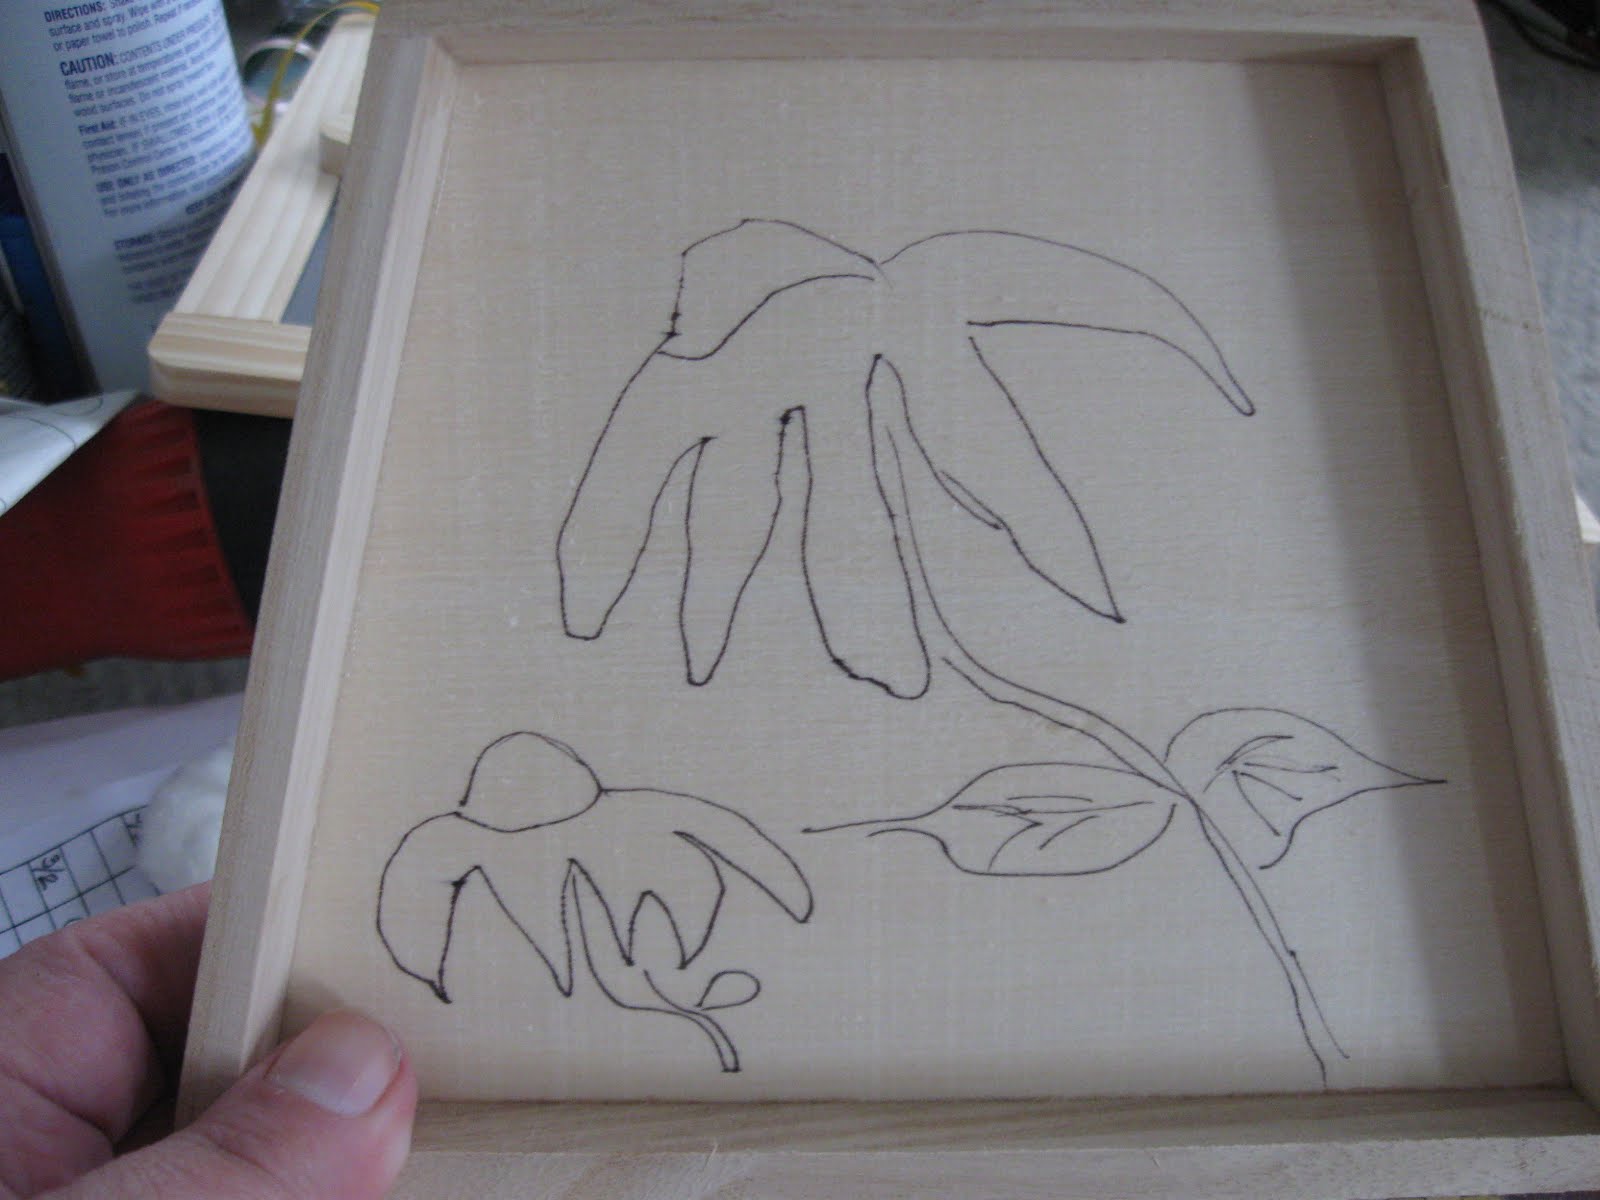
In this instant I used my own ideas to create the look I want, but you can
use a pattern you like or draw up your own design. I am using a fine pen acrylic paint to draw out my design; which is some
way out sun flowers.
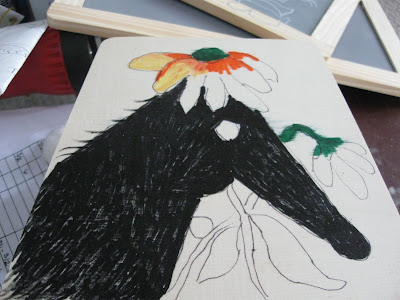
This next photo is my other design of a crow in
some sunflowers. I just free hand drew this onto the wood. You can easy
get a pattern that you like and transfer it
onto the wood by coloring over the pattern and rubbing it on or tracing over the
pattern to transfer. In the picture I am combining a bit of oils
and acrylics. I have brushed on the black of the crow with acrylics and some of
the orange is acrylics and the yellow are oil pastels that I blending with a
Q-tip.
In the photo with the large flower I am adding my oils over the top of the
flower which was painted with an orange acrylic paint and the green was also
acrylics then I began rubbing the oil pastels in using various colors and
sometimes with the q-tip or my fingers and just wiping with a small cloth.

As you can see I am almost done I have my project completed in the
oils and acrylics but I want to make this look old and grubby so I am going to
add a stain that is walnut in color and oil based.
I love how the crow and flowers have come out just the way I wanted.

In this last picture you can see I have rubbed my oil based stain on with a
cotton cloth and wiped away the access, now you can stain it too but I suggest
using an oil based stain for better results or just leave the stain and and seal
with a good sealer.
I will mention what all you will need for this project:
pencil, transfer paper, pattern of your choice, oil pastels, acrylic paints,
q-tips, small pieces of soft cotton cloth, heavy sealer, walnut oil based stain.
This can be lots of fun to do, I also want to mention if you are going to stain
let the oils and acrylics dry for 2 days at least before staining. This allows
the paints to dry and the pastels to set a bit. I love how mine came out,
but then I love the grubby look and bright colors.


Pamela can be found here:
http://www.etsy.com/shop/Mapleasragclothdolls
http://itsjustfranklykute.blogspot.com


.JPG)


2 comments:
Pamela,
Loved the tutorial, thanks for sharing!
Judy
Pamela,
Loved the tutorial, thanks for sharing!
Judy
Post a Comment